How to Evaluate and Adjust Room Acoustics
- The Discerning Listener

- Oct 20, 2025
- 4 min read
When it comes to enjoying music, movies, or even having clear conversations, the quality of sound in a room plays a crucial role. Room acoustics can either enhance or degrade your listening experience. Understanding how to evaluate and adjust room acoustics is essential for creating a space that sounds just right. This guide will walk you through practical steps to assess your room’s sound characteristics and make effective adjustments.
Understanding Room Acoustics and Why They Matter
Room acoustics refers to how sound behaves within an enclosed space. When sound waves travel, they interact with surfaces like walls, ceilings, floors, and furniture. These interactions cause reflections, absorption, diffusion, and sometimes unwanted echoes or reverberations. The result is how you perceive sound in that room.
Poor room acoustics can cause:
Echoes that make speech unclear
Boomy bass that overwhelms other frequencies
Dead spots where sound seems muffled or weak
Harsh reflections that cause listening fatigue
Good room acoustics balance these effects to deliver clear, natural sound. This is especially important in home theatres, recording studios, or any space where sound quality matters.
Key Acoustic Properties to Know
Reverberation Time (RT60): How long it takes for sound to decay by 60 decibels. Ideal RT60 varies by room size and purpose.
Frequency Response: How different sound frequencies behave in the room.
Sound Absorption: Materials that soak up sound waves to reduce reflections.
Sound Diffusion: Scattering sound waves to avoid harsh echoes.
By understanding these basics, you can better evaluate your room’s acoustic performance.

How to Evaluate Your Room Acoustics Effectively
Evaluating room acoustics involves both listening tests and measurements. Here are practical steps to assess your space:
1. Perform a Listening Test
Start by playing familiar music or speech recordings. Listen carefully for:
Echoes or flutter echoes: Rapid, repetitive reflections that sound like a “ping-pong” effect.
Bass buildup: Excessive low frequencies that make sound muddy.
Clarity of vocals and instruments: Are voices clear or muffled?
Sound balance: Does the sound feel even throughout the room or are there dead spots?
Move around the room to identify areas where sound changes noticeably.
2. Use Simple Tools for Measurement
You don’t need expensive equipment to get useful data:
Clap Test: Clap your hands loudly and listen for the echo or reverberation. A long, lingering echo means too much reflection.
Smartphone Apps: There are free and paid apps that measure reverberation time and frequency response.
Room Acoustics Calculator: For a more detailed analysis, use an online room acoustics calculator to estimate ideal absorption and diffusion based on your room’s dimensions and materials.
3. Identify Problem Areas
Pay attention to:
Large flat surfaces like bare walls and ceilings that reflect sound.
Hard floors such as tiles or hardwood that cause reflections.
Corners where bass frequencies tend to build up.
Windows and glass surfaces that reflect high frequencies.
Document your findings to plan adjustments.

Practical Ways to Adjust Room Acoustics
Once you know your room’s acoustic issues, you can take steps to improve sound quality. Here are effective methods:
1. Add Absorptive Materials
Absorption reduces reflections and reverberation. Common absorptive materials include:
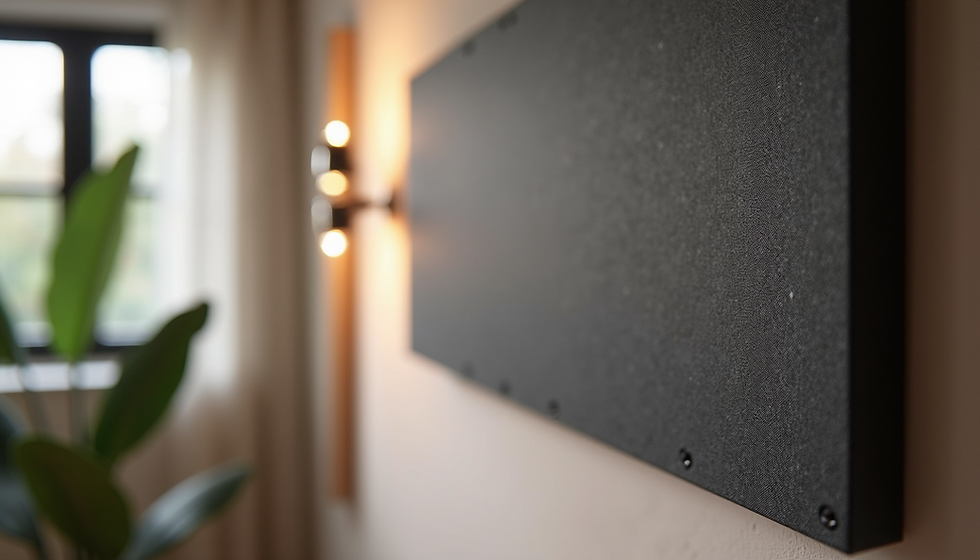
Acoustic panels: Made from foam or fabric-wrapped fiberglass, placed on walls and ceilings.
Carpets and rugs: Cover hard floors to absorb mid and high frequencies.
Heavy curtains: Over windows to reduce reflections and outside noise.
Soft furniture: Upholstered sofas and cushions help absorb sound.
Place absorptive materials strategically on reflective surfaces, especially opposite speakers or sound sources.
2. Use Diffusers to Scatter Sound
Diffusers break up sound waves and scatter them evenly. This prevents harsh echoes and creates a more natural sound. Options include:
Wooden or plastic diffusers: Mounted on walls or ceilings.
Bookshelves filled with books: An inexpensive diffuser.
Decorative panels with uneven surfaces.
Diffusion is especially useful in larger rooms or studios.
3. Control Bass Frequencies
Bass frequencies are harder to manage because they have longer wavelengths. To control bass:
Bass traps: Special absorptive panels placed in corners where bass tends to accumulate.
Furniture placement: Move large furniture to corners to help absorb bass.
Speaker positioning: Avoid placing speakers too close to walls or corners.
4. Adjust Speaker and Listener Positions
Sometimes, small changes in where you place speakers and where you sit can dramatically improve sound:
Avoid placing speakers directly against walls.
Position listening seats away from corners and reflective surfaces.
Experiment with angles and distances to find the best sound sweet spot.

Tips for Maintaining Good Room Acoustics Over Time
Improving room acoustics is not a one-time task. Here are tips to keep your space sounding great:
Regularly check for changes: New furniture or decorations can affect acoustics.
Keep windows and doors closed during listening sessions to reduce outside noise.
Use portable acoustic panels if you need flexibility.
Avoid clutter that causes uneven sound reflections.
By maintaining your acoustic treatments and room setup, you ensure consistent sound quality.
Enhancing Your Listening Experience with Smart Tools
Technology can assist in fine-tuning your room acoustics. Besides physical treatments, consider:
Room correction software: Many modern audio systems include software that adjusts sound output based on room measurements.
Measurement microphones: For more precise acoustic analysis.
Online resources: Use tools like the room acoustics calculator to plan your acoustic treatment before purchasing materials.
These tools help you make informed decisions and optimize your space efficiently.
By carefully evaluating and adjusting your room acoustics, you can transform any space into a place where sound is clear, balanced, and enjoyable. Whether for casual listening or professional use, these practical steps will guide you toward better sound quality and a more satisfying audio experience.


Comments